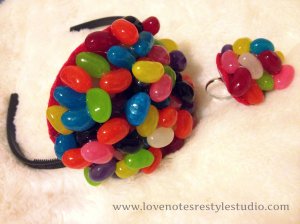
We first saw the Posy Pin Tutorial by Grace Laced in the beginning of our life with Pinterest.
They are so easy to make and are our favourite of the DIY flowers. The end result is always very elegant and doesn’t look cheaply made at all. We have also found many great ways to use them – from headbands, to tank top embellishment and various other restyles.
Here is our tutorial on how to make ‘The Burnt Flower’. It’s our first one, so we are open to any feedback you have so that our future tutorials are easy to understand and full of FUN!
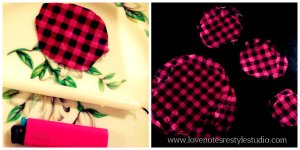
Flower – Tools
You start with circles of polyester fabric (like satin or organza) – around 3 – 4 different sizes (and around 2-3 pieces of each size) depending how ‘full’ you want your flower to look. It doesn’t have to be neat and perfect – the messier the better!
You will then need a candle and lighter – in the picture we have a normal candle (it is all we had) – but normally we would use a tea light candle. It’s easier to manage the flame. For your first few times you will want to have a small bowl of water nearby in case of any out of control fires.

Step 1 – burn edges

Step 2 – burn centre

Step 3 – assembly time
With this flower we used a button (again all we had on hand) but you can use any sort of bead as well or a clump of beads. We’ve even used an old earring before!

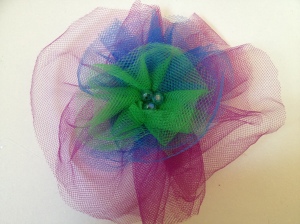
Final product – The Burnt Flower
Here’s a few links to Pinterest of how we’ve used this little gem in different ways.
Polka Dot Dress Flowers
Pajama Pants Flowers
Disco Shoes Flowers
Necklace Flowers
Bracelet Flowers
Flowers for Headbands
You were warned that we loved them! Hope you enjoyed our first tutorial. What’s your favourite DIY flower?
Take care, until next time…keep restyling!


