Hi again, it’s Amour here for this post. I’m still in the Philippines but head back home to Australia soon. Last week my husband and I went to the Davao Convention & Trade Center for The 13th Biggest Bazar in Davao City.

Davao Bazar
It was the first bazar I had been to in the Philippines and I’d always wanted to go to one. The locals used to advise me not to because they were scared that I would get mugged! I felt safe though I had trusty hubby by my side to protect me 🙂
It was a mixed bag of old and new & factory and handmade goods – and in true Filo style – there was lots of food!
It’s another picture heavy post – so grab a cuppa and enjoy the pix 🙂
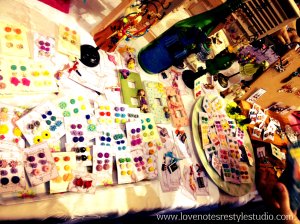
One of the first stalls that caught my eye was Burloloy@Craft Haus – all the pretty colours! I bought a few of their earring sets as they were handmade and I’m really looking for some quality handmade goods to give as gifts at Christmas.
Burloloy Stall Set Up – isn’t it cute?
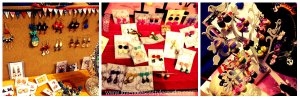
Davao Bazar Burloloy @ Craft Haus
Now it’s foodie time 🙂
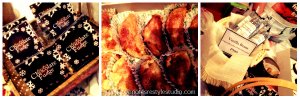
Foodie Goodies at Nina’s Kitchen
More handmade goodness with the prettiness of wood and pearl..
JER Shell Craft Creations Int’l
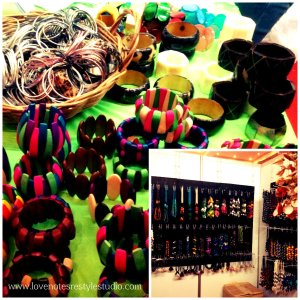
And now for some random pictures of random stalls…

Davao Bazar – all mixed up!
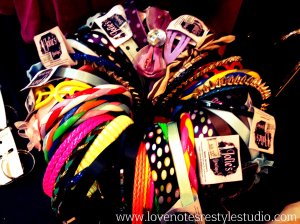
Headbands anyone???
Here is my favourite stall – Crystallized Posh – look at all of the pretty collars! They really inspired me to want to create some – so I can’t wait to get back home and dig through my stash of goodies to see what I can come up with!

My favourite stall – Crystallized Posh
What do you think? Have you been to any good markets recently? Tell me about them – I always love to hear about them and the special treats that people have found.
Take care, until next time…keep restyling!